
Sod Installation Tips and FAQs
Lay, grow, and maintain your sod for a healthy lawn all year long
How Much Sod Do I Need?
Zander Sod is sold by the roll and each roll is 9 square feet or 1 square yard. To find out how much sod you need, start by measuring your lawn’s surface area.
To find the square footage, simply multiply the length x width in feet. Divide that number by 9 to find the square yardage.
Example: 12’ x 30’ = 360 square feet. 360 / 9 = 40 square yards. You will need 40 rolls of sod for your project.
How to Prepare for Sod
Preparing for your sod’s arrival is a two-step process.
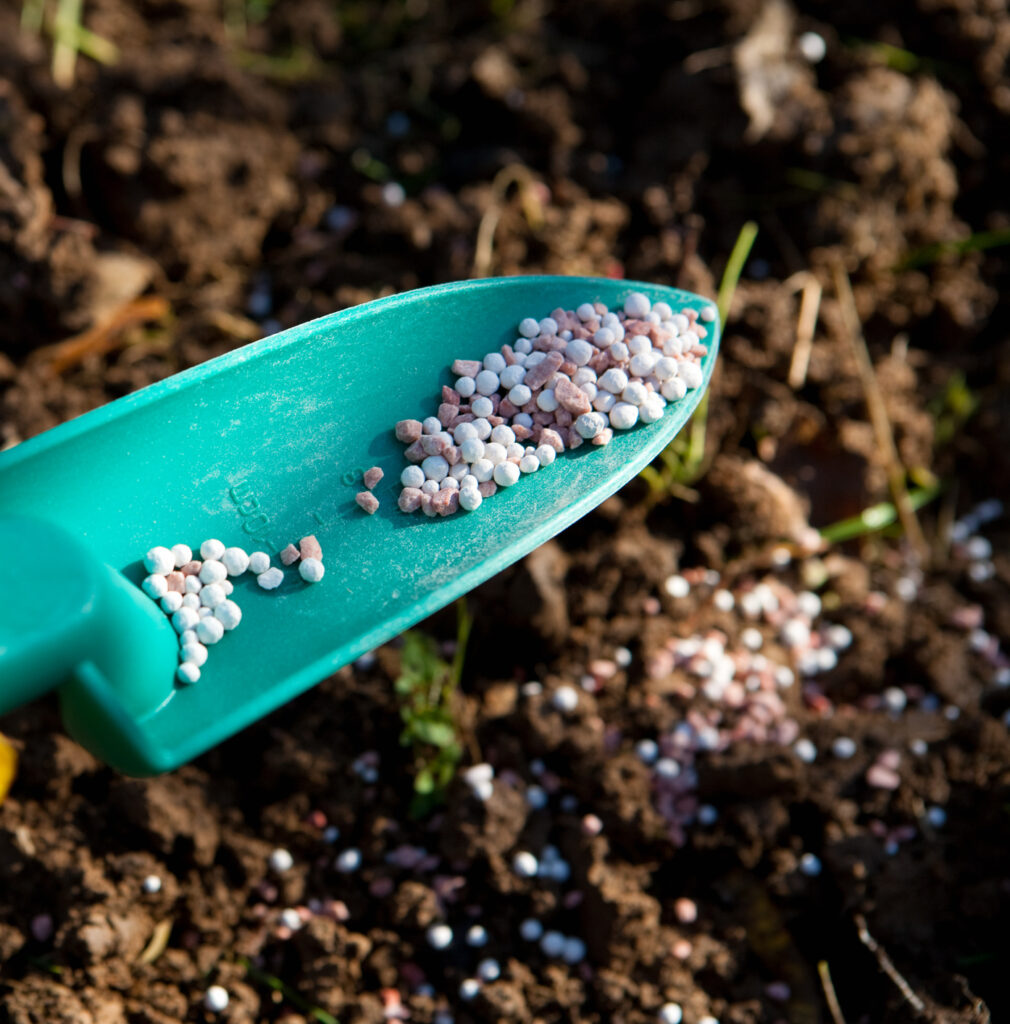
1. Apply fertilizer
You will want to apply a high-phosphorous, slow-release fertilizer — such as our Starter Fertilizer — to the area. A 4kg bag should cover 1,700ft2 square metres to ensure optimum fertility for the roots.
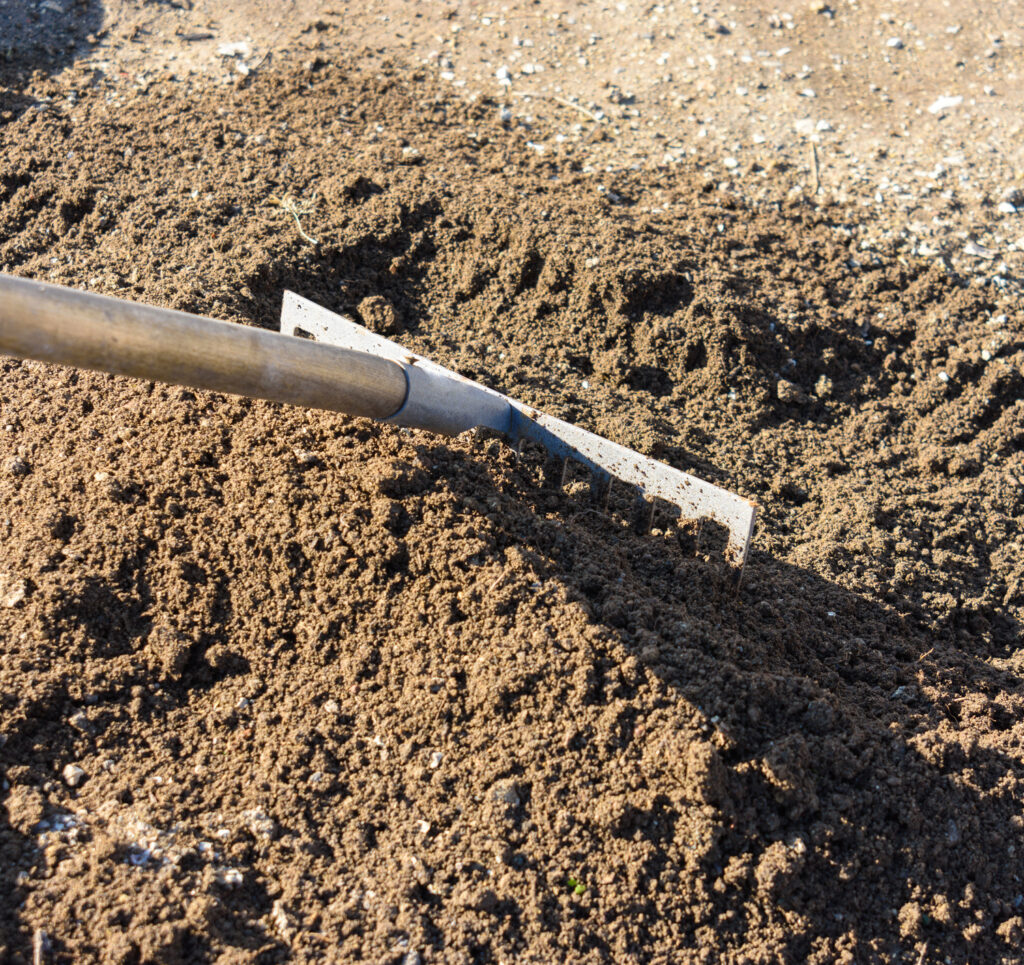
2. Rake in fertilizer
Fertilizer should be raked to a depth of 5-10 cm.
How to Install Sod
Installing your sod is a two-step process.
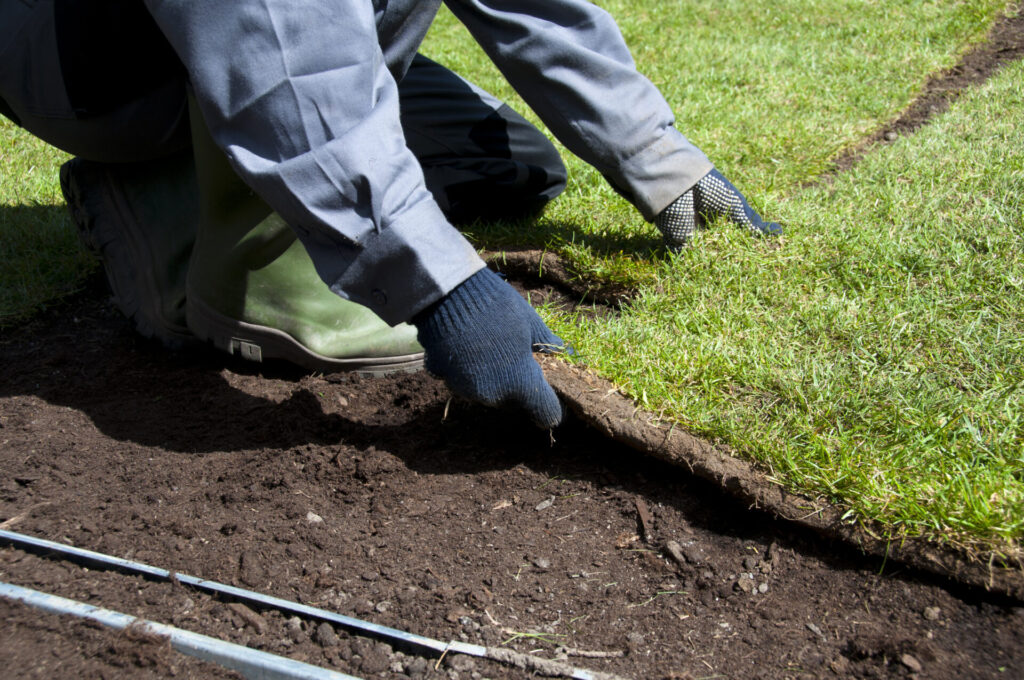
1. Lay the sod
We highly recommend that you install your turf immediately after its arrival. If you cannot install it right away, you must unroll all sod within 24 hours!
You will begin by unrolling the turf along the longest straight line, such as a driveway. Make sure to butt all joints tightly together, without overlapping.
If there are tractor tracks or shoeprints, be sure to flatten them.
Lay your sod in a bricklayer fashion, staggering each row.
As you complete one area, start watering it immediately (within 15 minutes). This will minimize the stress on your sod. We recommend you apply at least 2-3 cm (1 inch) of water, using a sprinkler for even distribution.
Pro Tip: Edges along asphalt and concrete, as well as areas on top of embankments and mounds, will require more water.
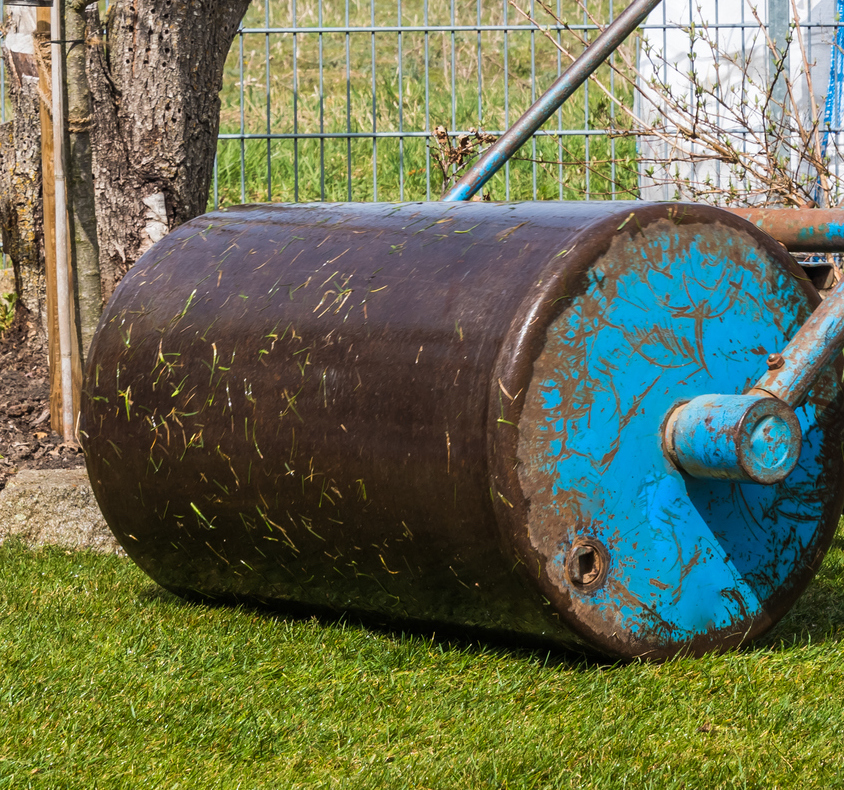
2. Roll the area
After installation, make sure to roll the area to improve turf/soil contact and remove air pockets. This step doesn’t need to be completed immediately, but can be done within the first week of installation.
Download
Watering, Mowing, and Maintaining Your Sod
Sod requires ongoing care from a homeowner or trained landscaping professional. Be sure to follow these instructions closely for a thick, healthy lawn:
Watering Your Sod
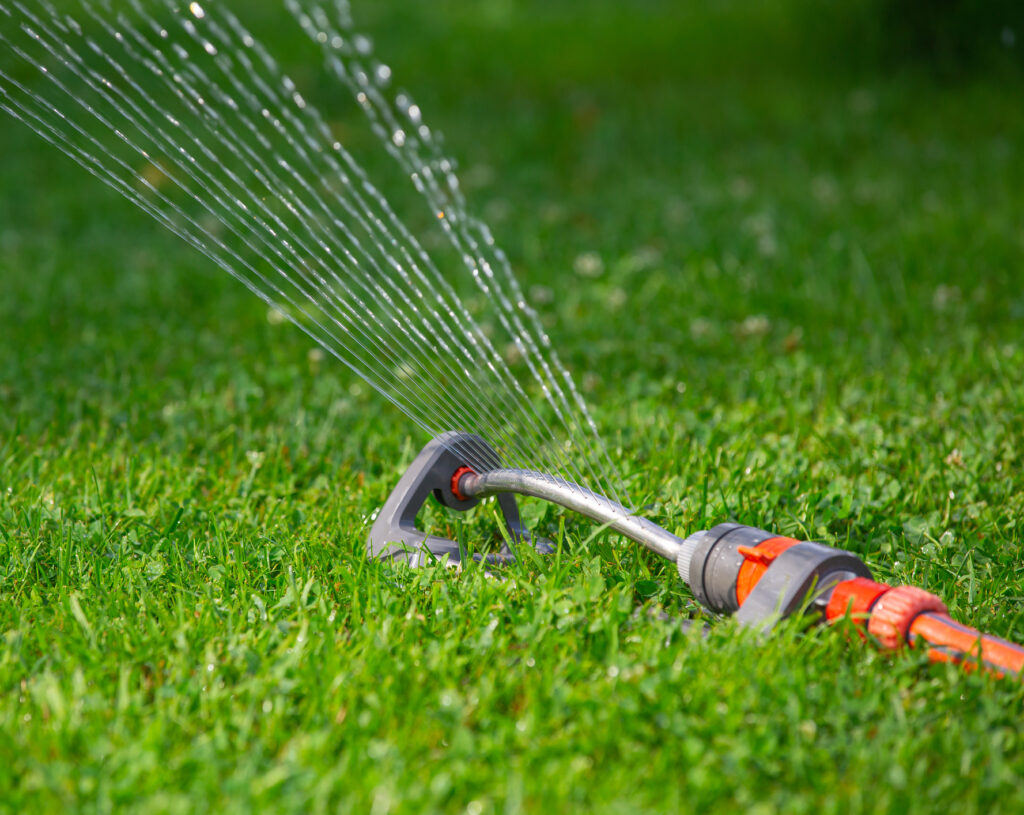
Your newly installed turf will need to be watered daily for the first week. During the second week, every second day is usually sufficient. The quantity and frequency can also depend on temperature, time of year, and soil conditions. The sod should not get so dry as to discolour or curl on the edges, nor should it be so wet that it would remain under water or mushy for any length of time.
Mowing Your Sod
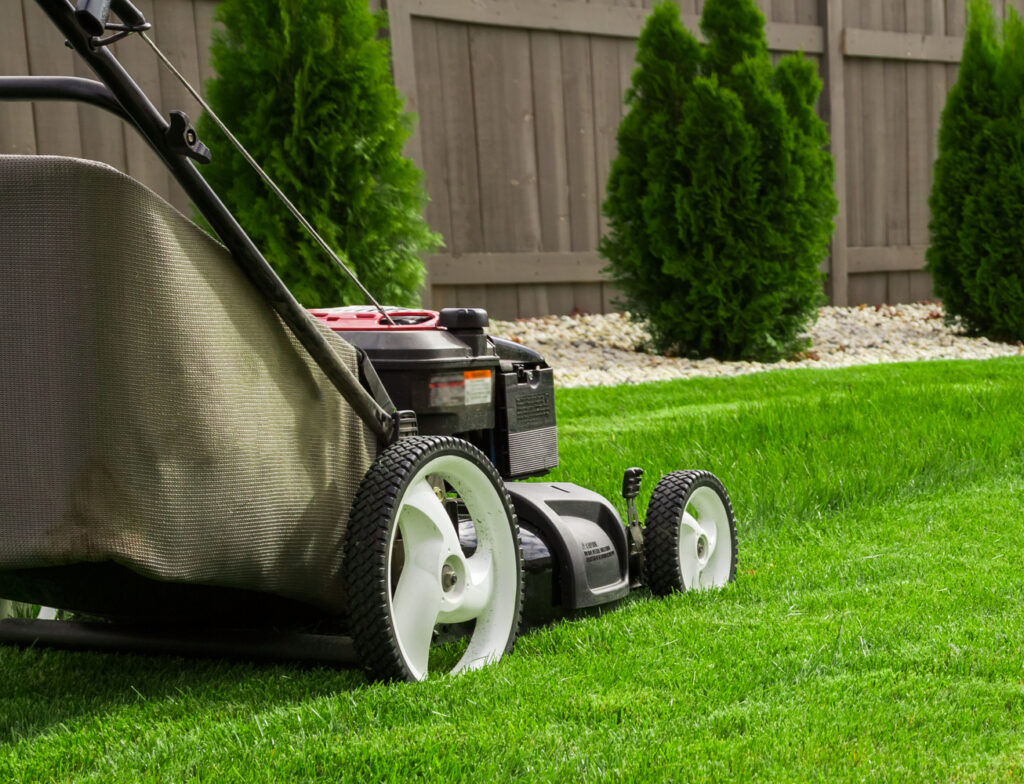
Your new Zander Sod should need mowing in 7-10 days.
It is important to not let the grass get too long. When mowing, never remove more than 1/3 of the plant. The ideal cutting height is 4-7 cm (1½ – 2½”). If you’re using a gas-powered mower, keep the motor idling the first time or two, so as not to pull the turf up off the ground.
Pro Tip: Be sure that your mower blade is sharp for a nice clean cut!
Maintaining Your Sod
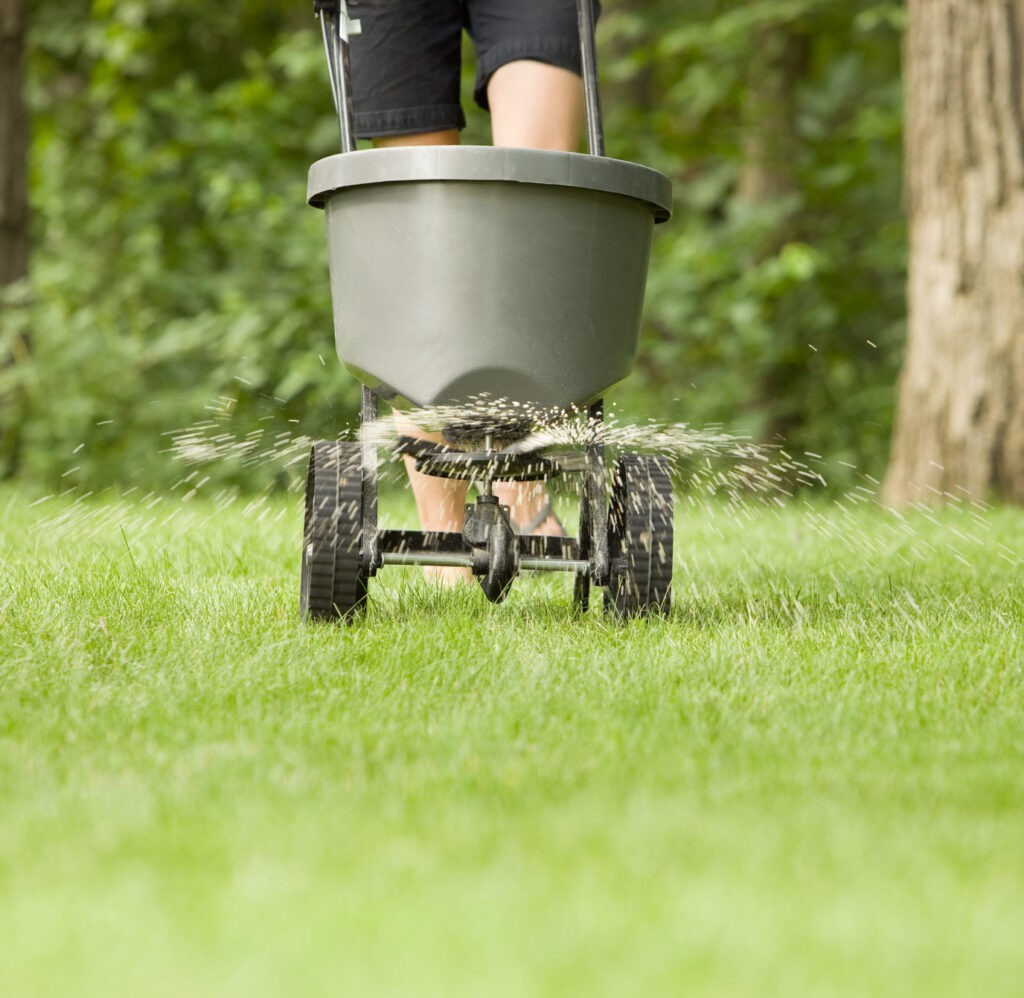
Zander Sod arrives at optimum nutrient levels.
A fertilizer program should be implemented 30-60 days after installation. Zander Sod sells a starter fertilizer that will suit these needs. If your previous lawn had problems with insects, monitor your turf carefully as control measures may be necessary.